The Y6 MultiWiiCopter build was exciting, but quickly realized that I needed a method of protecting my new copter and keeping it safe while transporting it. I did some quick searching on Google, and didn't really find anything that would work, so I decided to build my own case. I found a site called Reliable Hardware, that sells all the parts you'd ever need to build a road case. Although it was a bit more than I'd hope to spend, I know that this solution will provide a protective shell for my copter, and hopefully carry the transmitter, batteries, and cameras too.
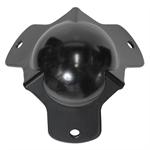
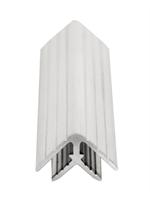
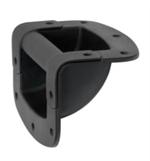
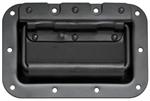
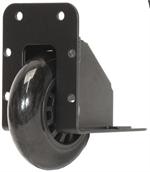
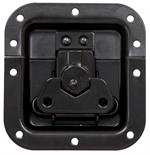
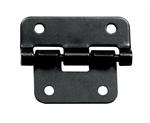
I will be using 1/8" rivots to hold everything together, and will be using .5" high density foam on the inside. Here is my inventory from Reliable Hardware:
Besides the foam, the only other thing that I needed to pick up was 1/8" plywood from the local home improvement store. All of the parts that I bought are cut to fit the 1/8" plywood, and wanted to keep the weight down as much as possible, and believe that this should be sufficient. I will be adhering ABS Laminate to the outside, which will enhance the look of the case.
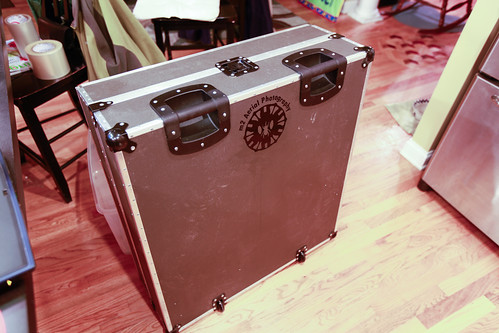
The outside is almost complete in this image, and will have to add some final corner protectors.
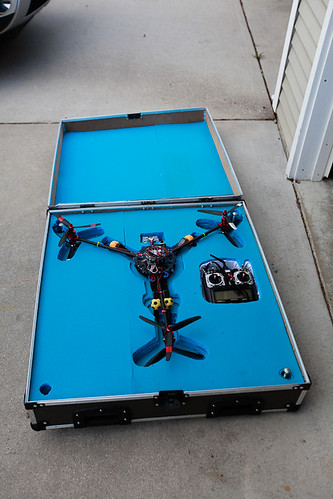
Update: Allocated the foam by using .5" sleeping pads from Wal-Mart. This option was actually cheaper than ordering 2" foam from any site I could find. It was tedious, but I used spray adhesive and glued together layer upon layer of blue foam until it filled the bottom half of the case. I had to cut each layer to accommodate the copter and legs as I built up the foam from the bottom. It's not perfect like a laser or CNC machine would do, but it fits securely. I also created a cut-out for the transmitter. I'm waiting on some batteries, and may end up cutting slots for those too so everything transports in one big case.
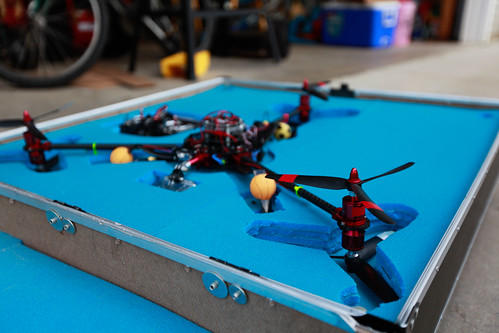
The copter does stick out a few inches above the bottom half of the case when it's open, but the lid shuts securely and keeps everything nice and snug.
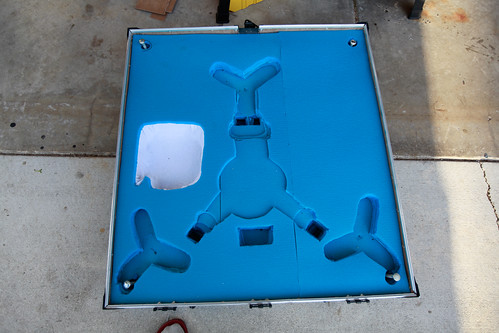
Here is the bomtom half of the case withou tthe lid and sans copter so you can see the sweet foam work I did with an exacto knife. It gets the job done.
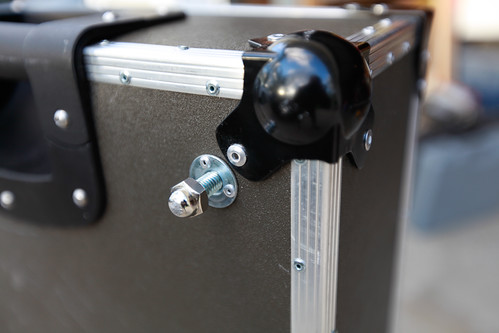
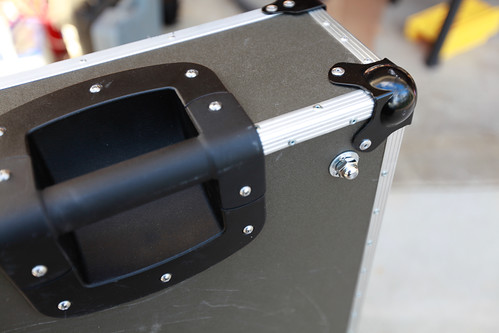
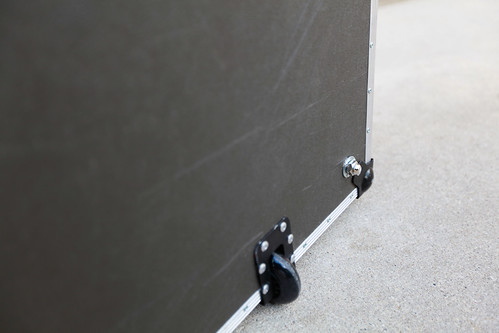
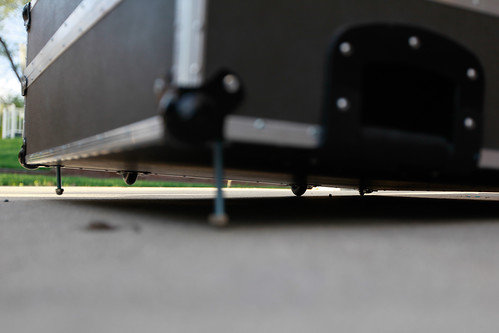
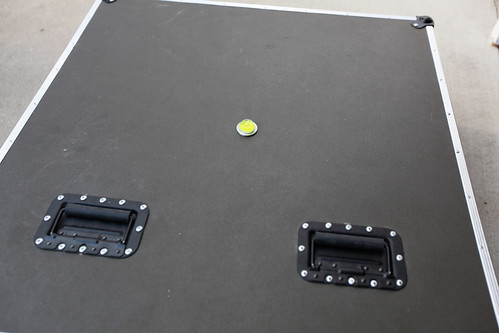
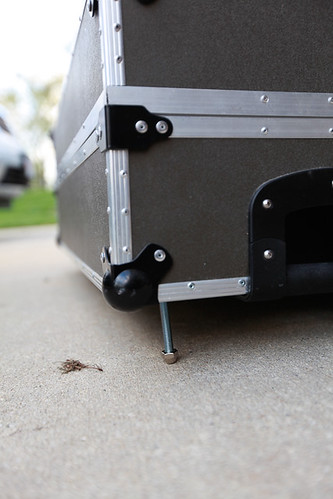
One design addition at the last minute was to rivot t-nuts onto the bottom of the case and add 6" bolts coming down from the inside. Since the Y6 flys better if you power it on on a leve surface, the case has built in legs! Basically, I use a bubble level on the top of the case, and unscrew whichever side is too low until the top of the case is perfectly level. When finished, the bolts are screwed back into the case and hidden.
All 4 corners have leveling bolts, as this one is on the bottom near the roller wheels.
Leveling bolts in action on my sloped driveway.
Here is the bubble level that I'll carry with me to ensure a good, level starting point.
I have a few parts coming from Reliable Hardware, including some feet to ensure the case stands upright. I'll also work on customizing the lid to ensure a more comprehensive fit, but for now, it works great, and the Y6 is safe and ready to travel without fear of breakage enroute to any flight.
- Part I - The Parts
- Part II - The Gimbal
- Part III - Reversing the Shaft
- Part IV - Motors and Arms
- Part V - Wiring the ESC's
- Part VI - Assembly
- Part VII - Test Flight
- Part VIII - Custom Road Case (You Are Here!)







No comments:
Post a Comment