
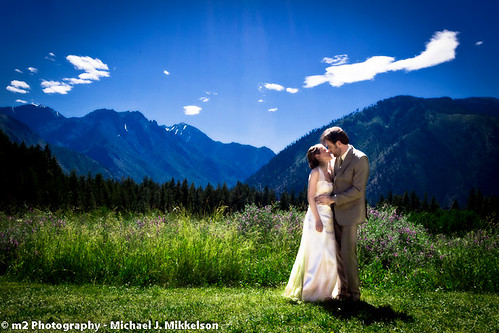
Basically, I created multiple layers for this image for the different sections. Sky, Mountains, Couple, and Forest, and Grass. Using layer masks, I was able to tweak each of these sections individually to make the hue/saturation and levels look the way I wanted. The key to this image is also ensuring that you do not overexpose the shot, thus losing image detail. You'll notice in the original, the Bride and Groom are dark and you can't see their faces. In the processed image, they pop off the screen. Looking at this, I see that I have some sun flares/spots to deal with, but I think that it's a vibrant image that would have been overlooked. Using Adobe Lightroom as the final step allows me to create a vignette, reduce the orange-ness of the skin, and add back a bit of clarity!
No comments:
Post a Comment